Gem Space lets you create and manage your own custom sticker packs directly in the app — no third-party tools needed. Here’s how to get started.
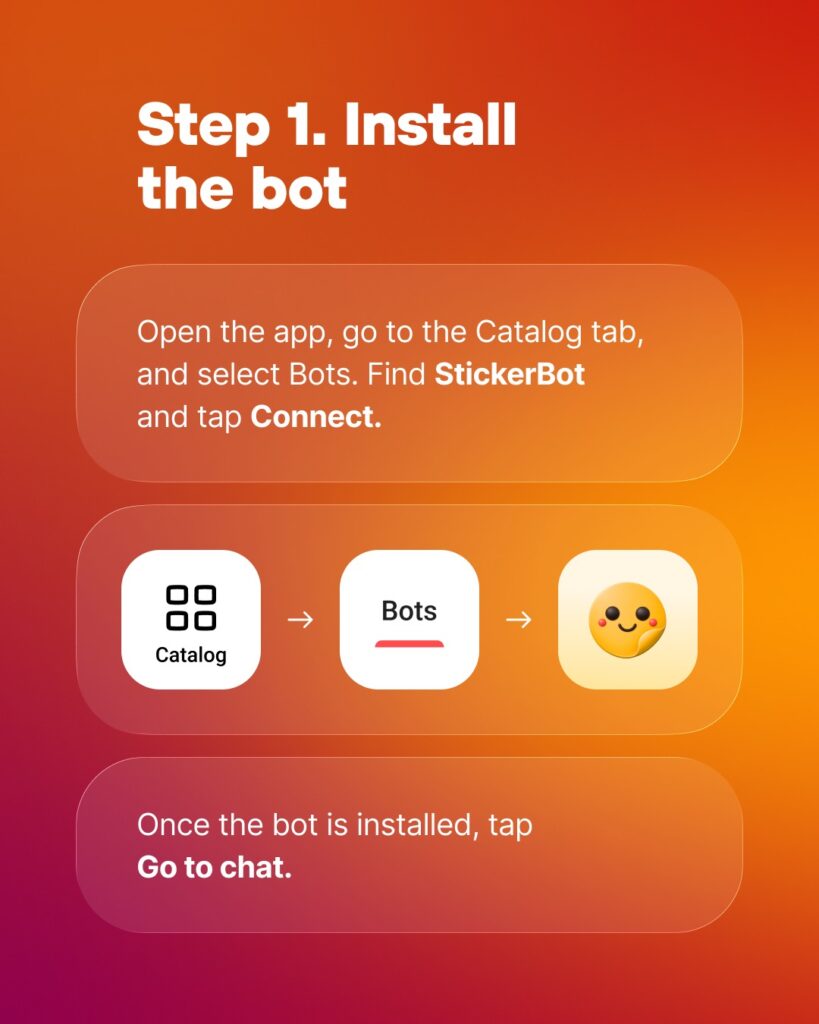
Step 1. Install the bot
Open the app, go to the Catalog tab, and select Bots. Find StickerBot and tap Connect. Once installed, tap Go to chat.
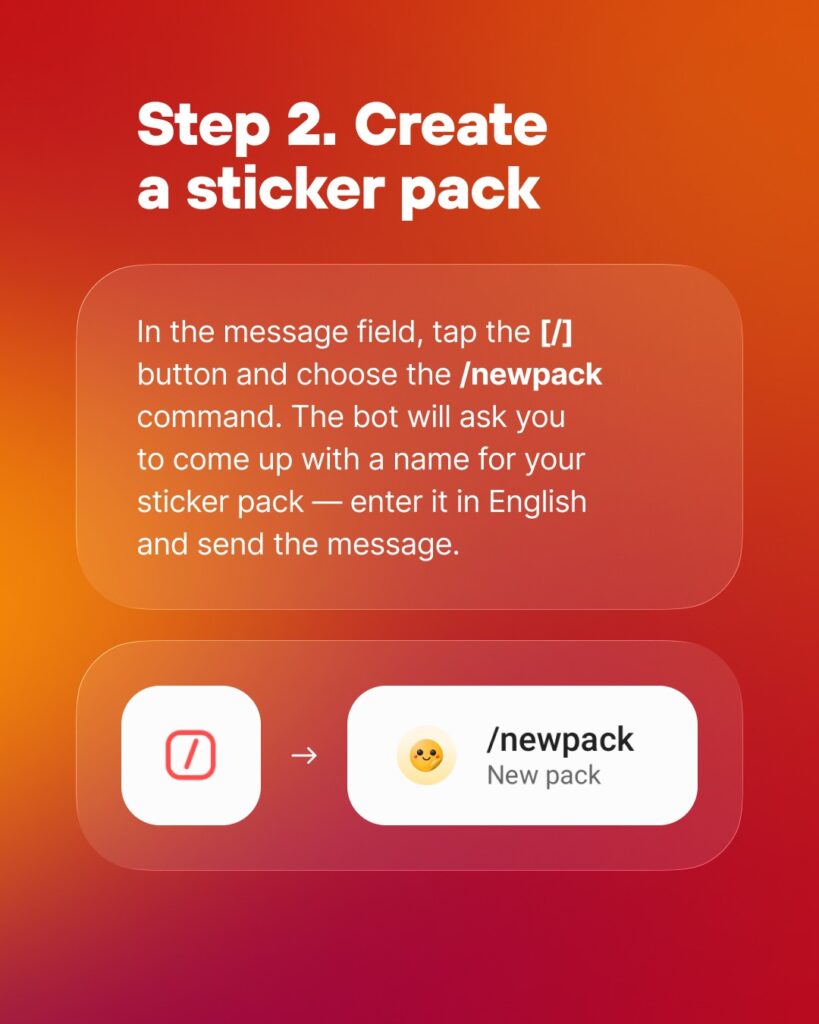
Step 2. Create a sticker pack
In the message field, tap the [/] button and choose the /newpack command. The bot will ask you to come up with a name for your sticker pack — enter it in English and send the message.
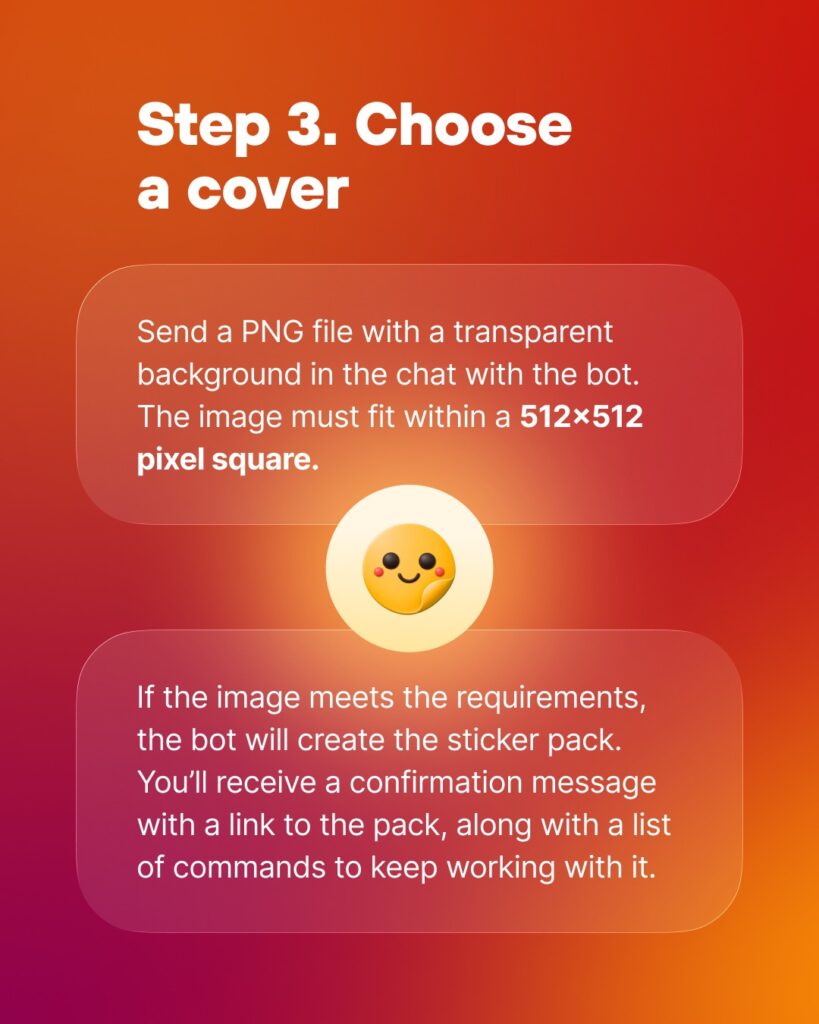
Step 3. Choose a cover
Send a PNG file with a transparent background in the chat with the bot. The image must fit within a 512×512 pixel square. If the image meets the requirements, the bot will create the sticker pack and send you a confirmation message with a link to the pack, along with a list of commands to keep working with it.
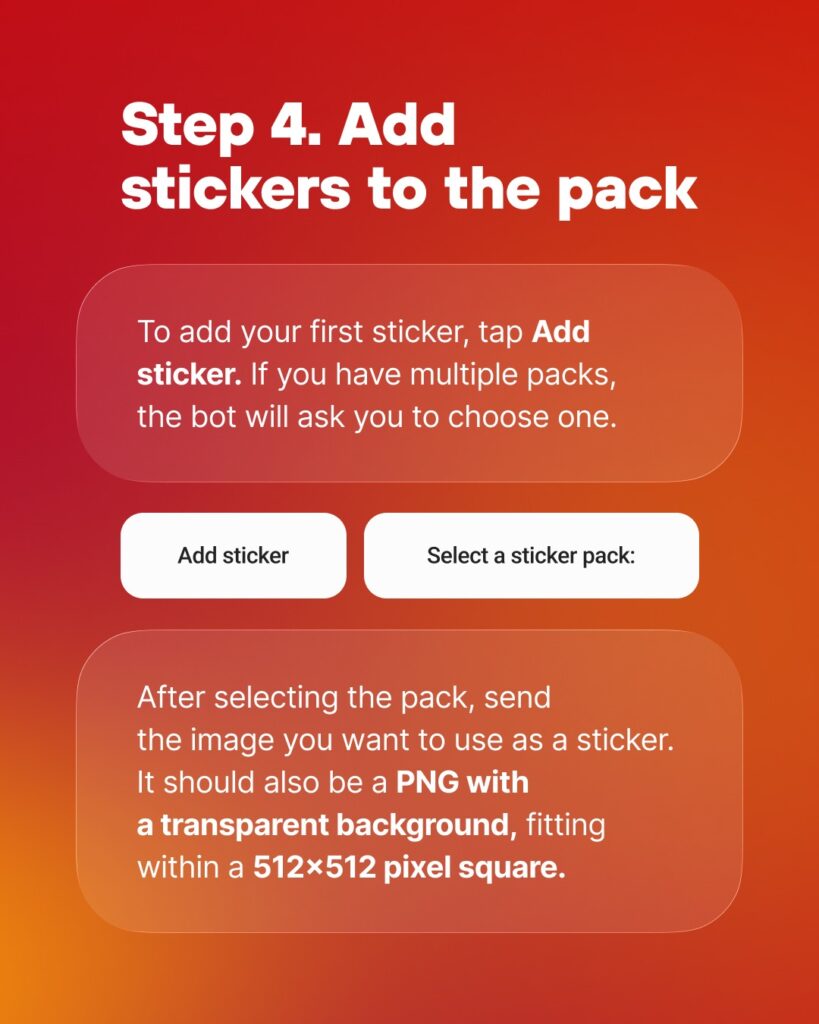
Step 4. Add stickers to the pack
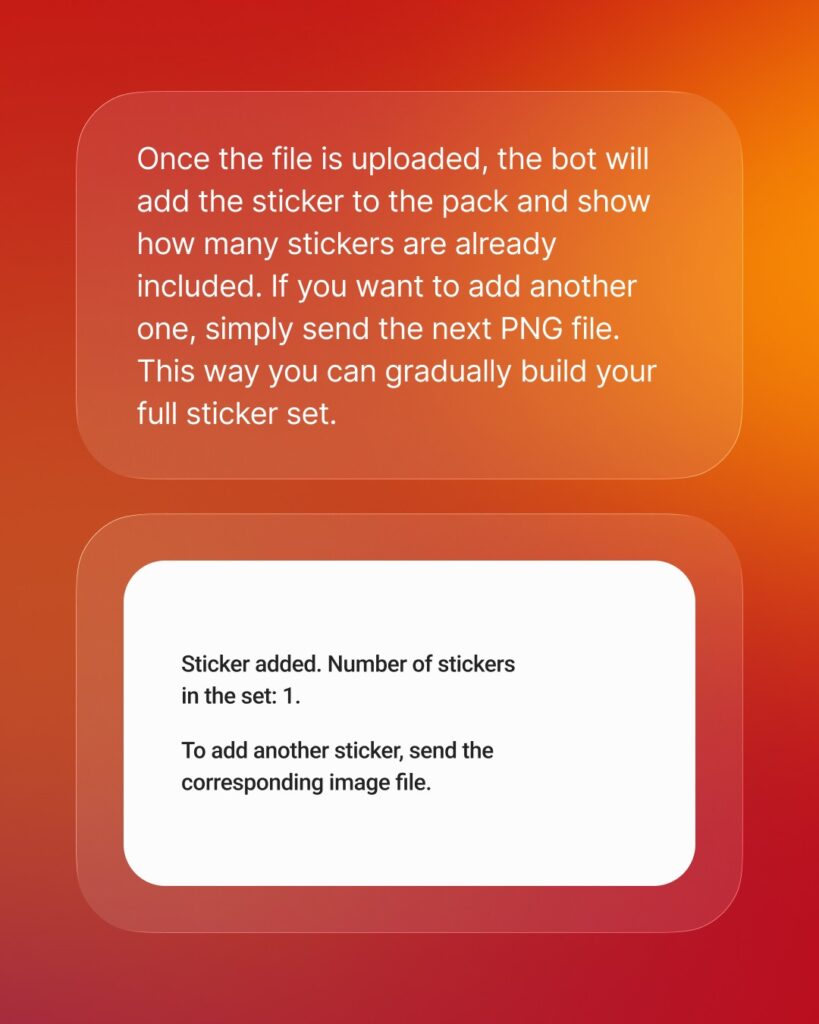
Tap Add Sticker. If you have multiple packs, the bot will ask you to choose one. Then send the image you want to use as a sticker — it should be a PNG with a transparent background, fitting within a 512×512 pixel square. Once uploaded, the bot will confirm how many stickers are in the pack. To add more, simply send the next PNG file and build your full set one sticker at a time.
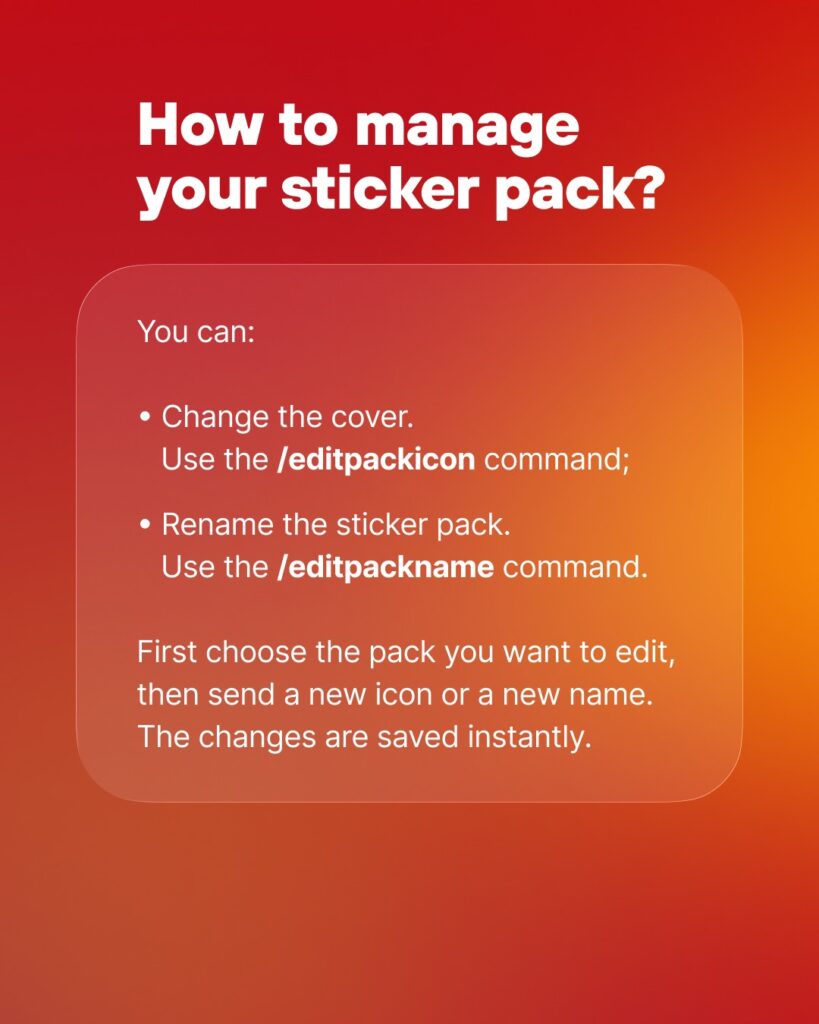
Managing your sticker pack
You can edit your pack at any time. To change the cover, use the /editpackicon command. To rename the pack, use /editpackname. Select the pack you want to edit, send the new icon or name, and the changes are saved instantly.
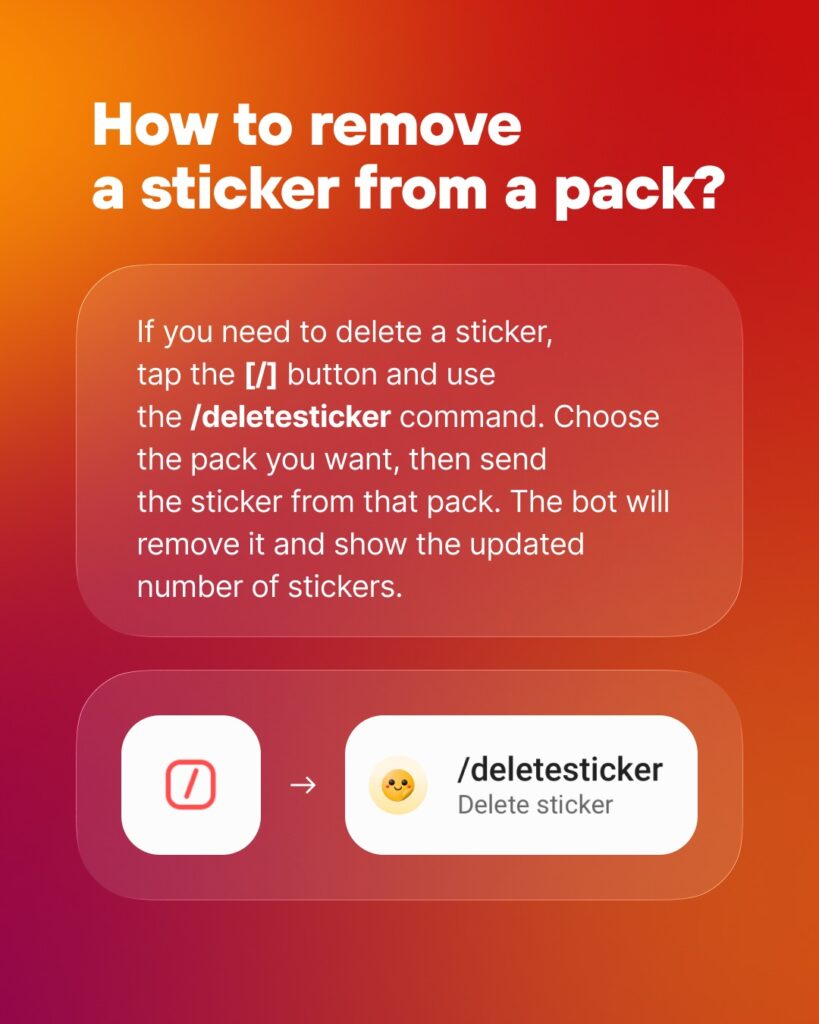
To remove a single sticker from a pack, tap the [/] button and use the /deletesticker command. Choose the pack, then send the sticker you want to remove. The bot will delete it and show the updated count.
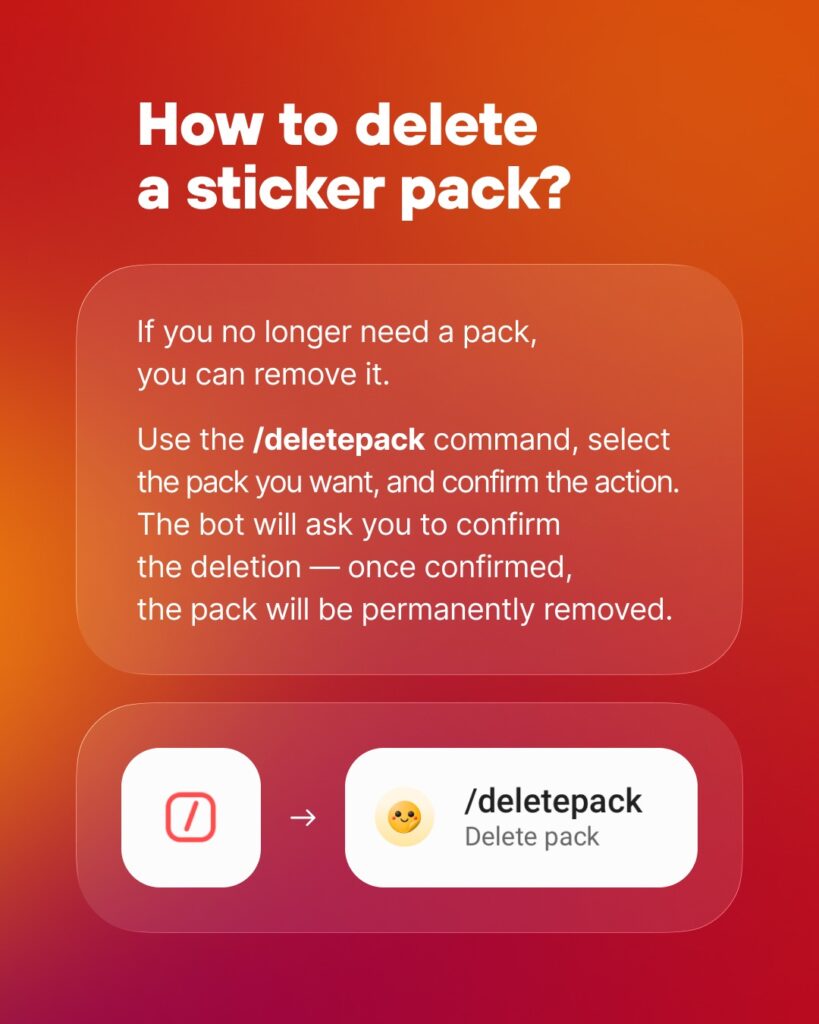
To delete an entire pack, use the /deletepack command, select the pack, and confirm the action. Once confirmed, the pack will be permanently removed.

Stay informed — join our Angels Team channel in Gem Space.
Comments are closed